Setting Up Webhooks in Vaultody
Overview
Webhooks in Vaultody allow you to automate processes by sending real-time notifications to external endpoints whenever specific events occur. This guide provides step-by-step instructions on how to set up a webhook endpoint in Vaultody.
Step-by-Step Guide
1. Log in to Vaultody
Open your web browser and go to the Vaultody login page.
Enter your username and password.
Click Sign In.
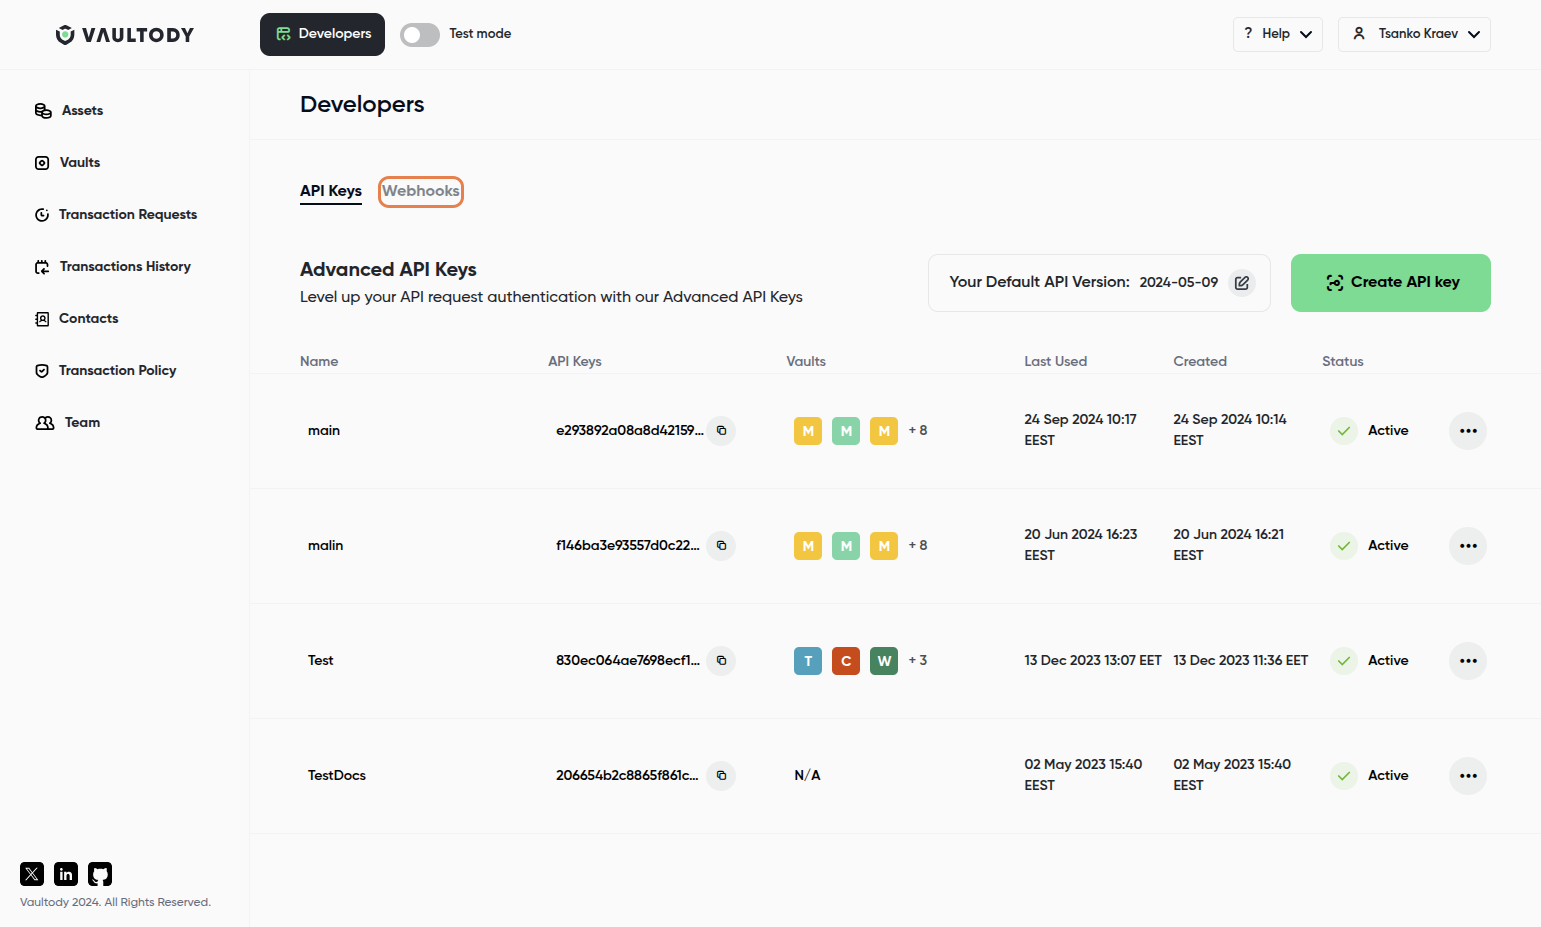
2. Navigate to the Developers Section
On the left sidebar, find and click on Developers.
Under the Developers menu, select Webhooks.
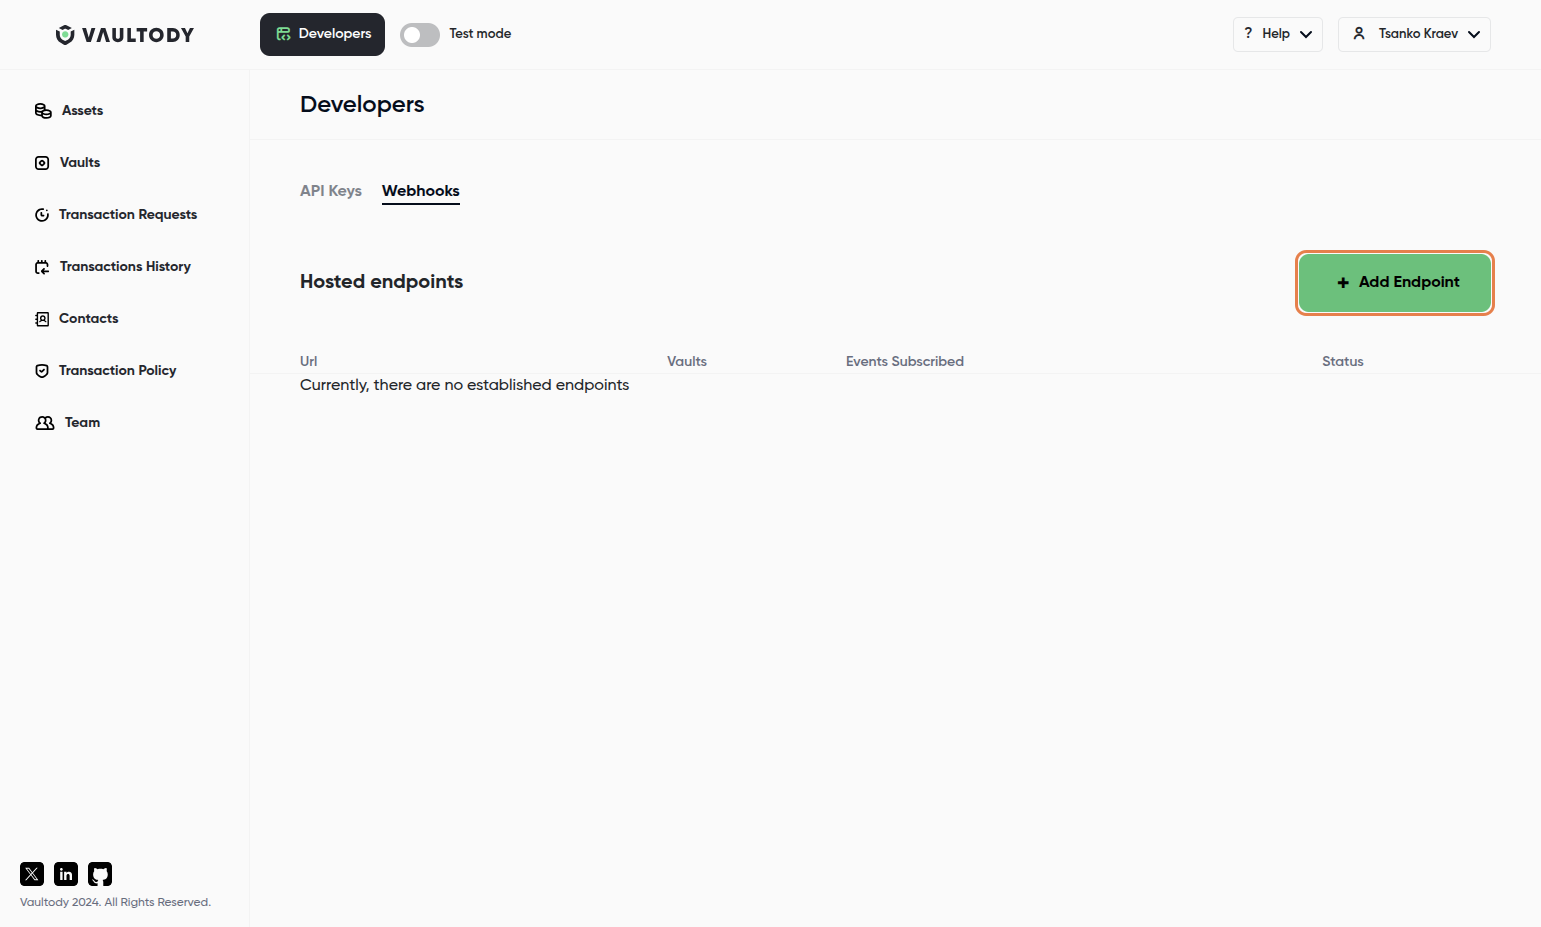
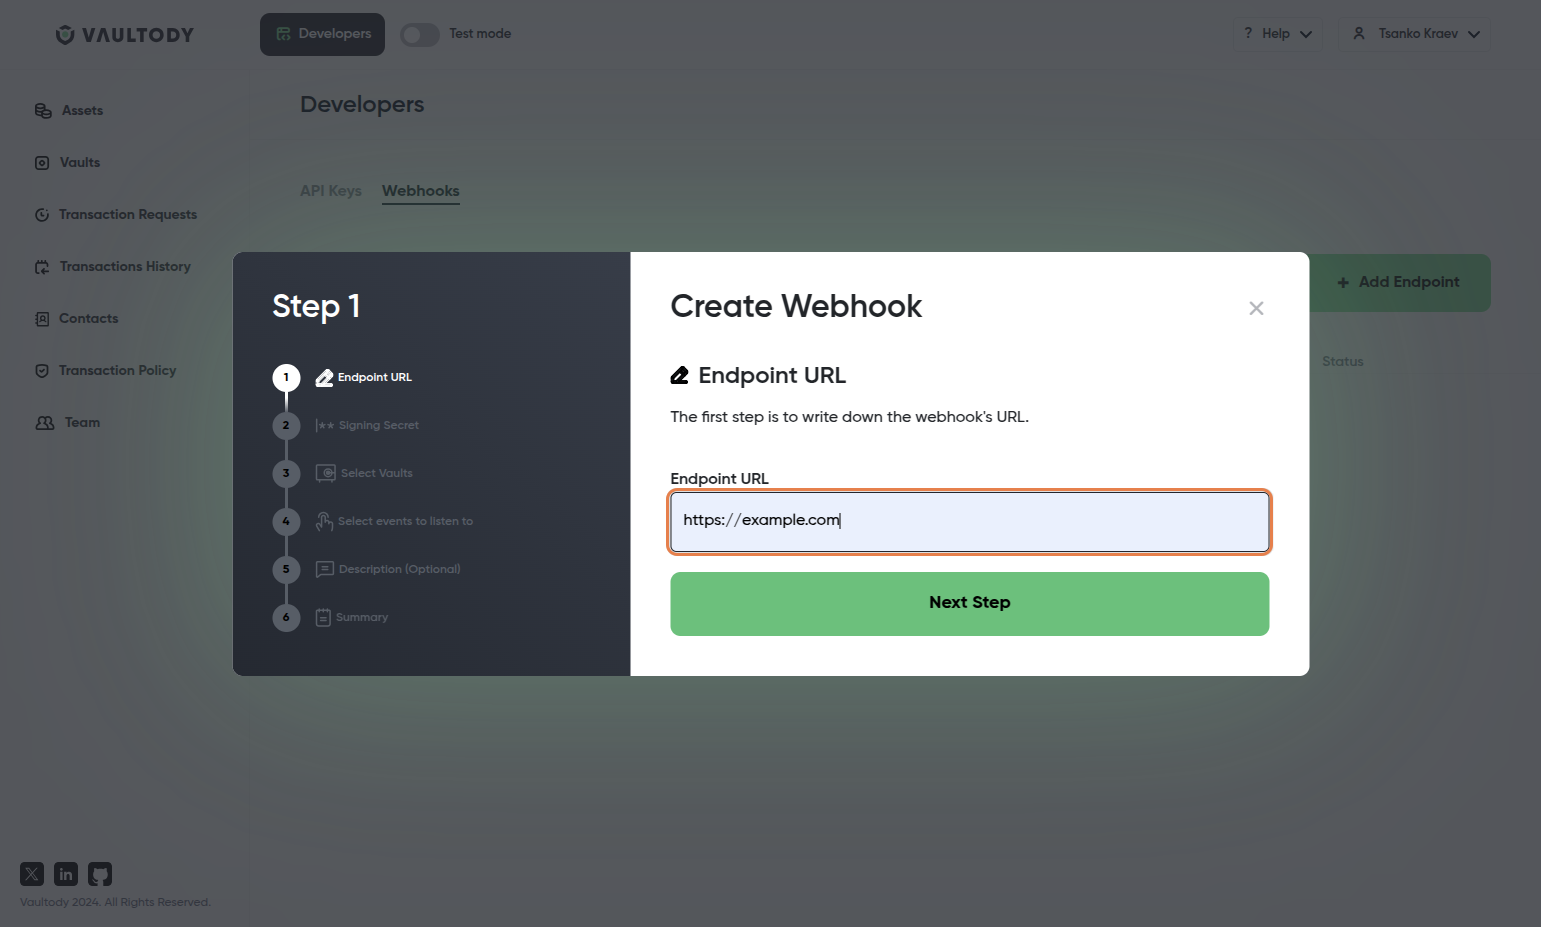
3. Add a New Webhook Endpoint
Click the Add Endpoint button.
In the Endpoint URL field, enter the URL where you want to receive webhook notifications (e.g., https://example.com).
Click Next Step.
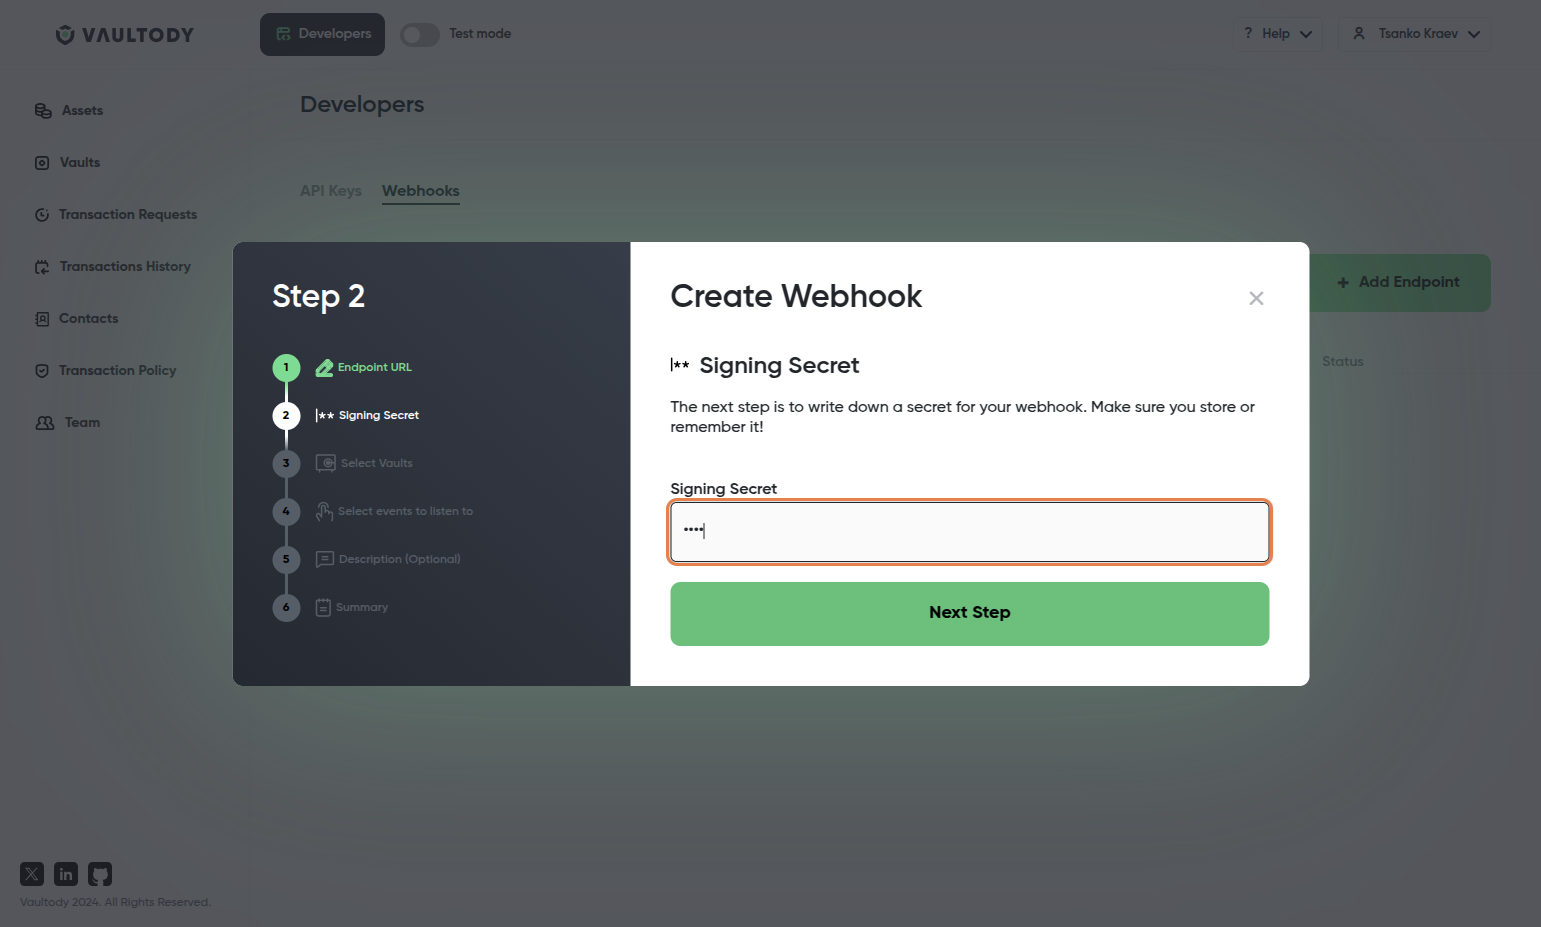
4. Authenticate the Request
The next step is to write down a secret for your webhooks. Make sure you store or remember it!
Click Next Step to proceed.
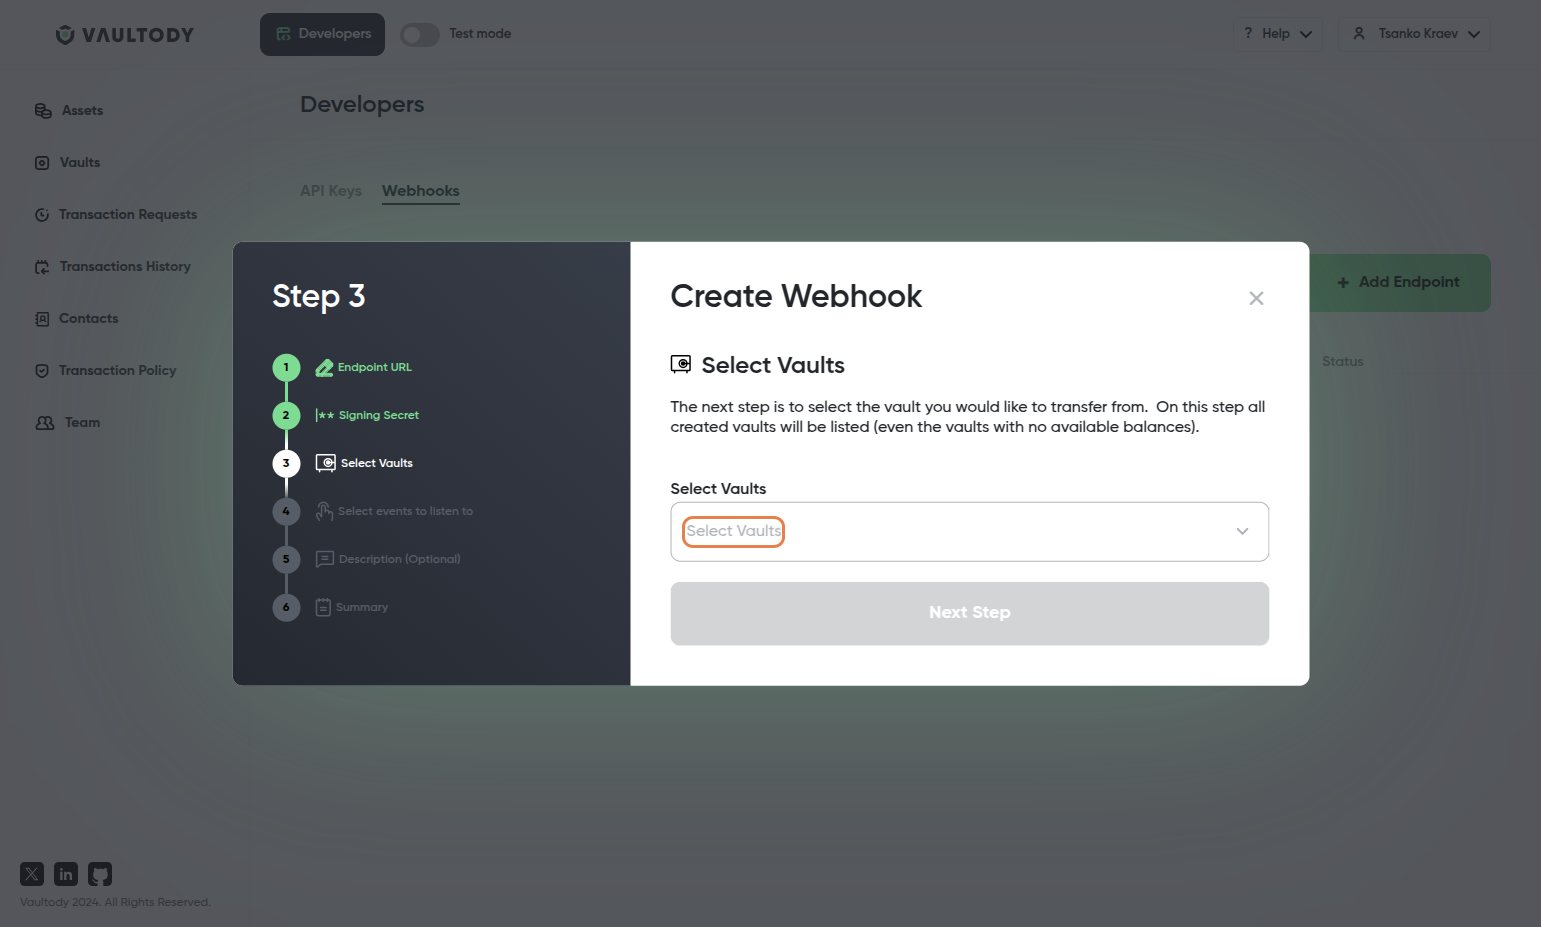
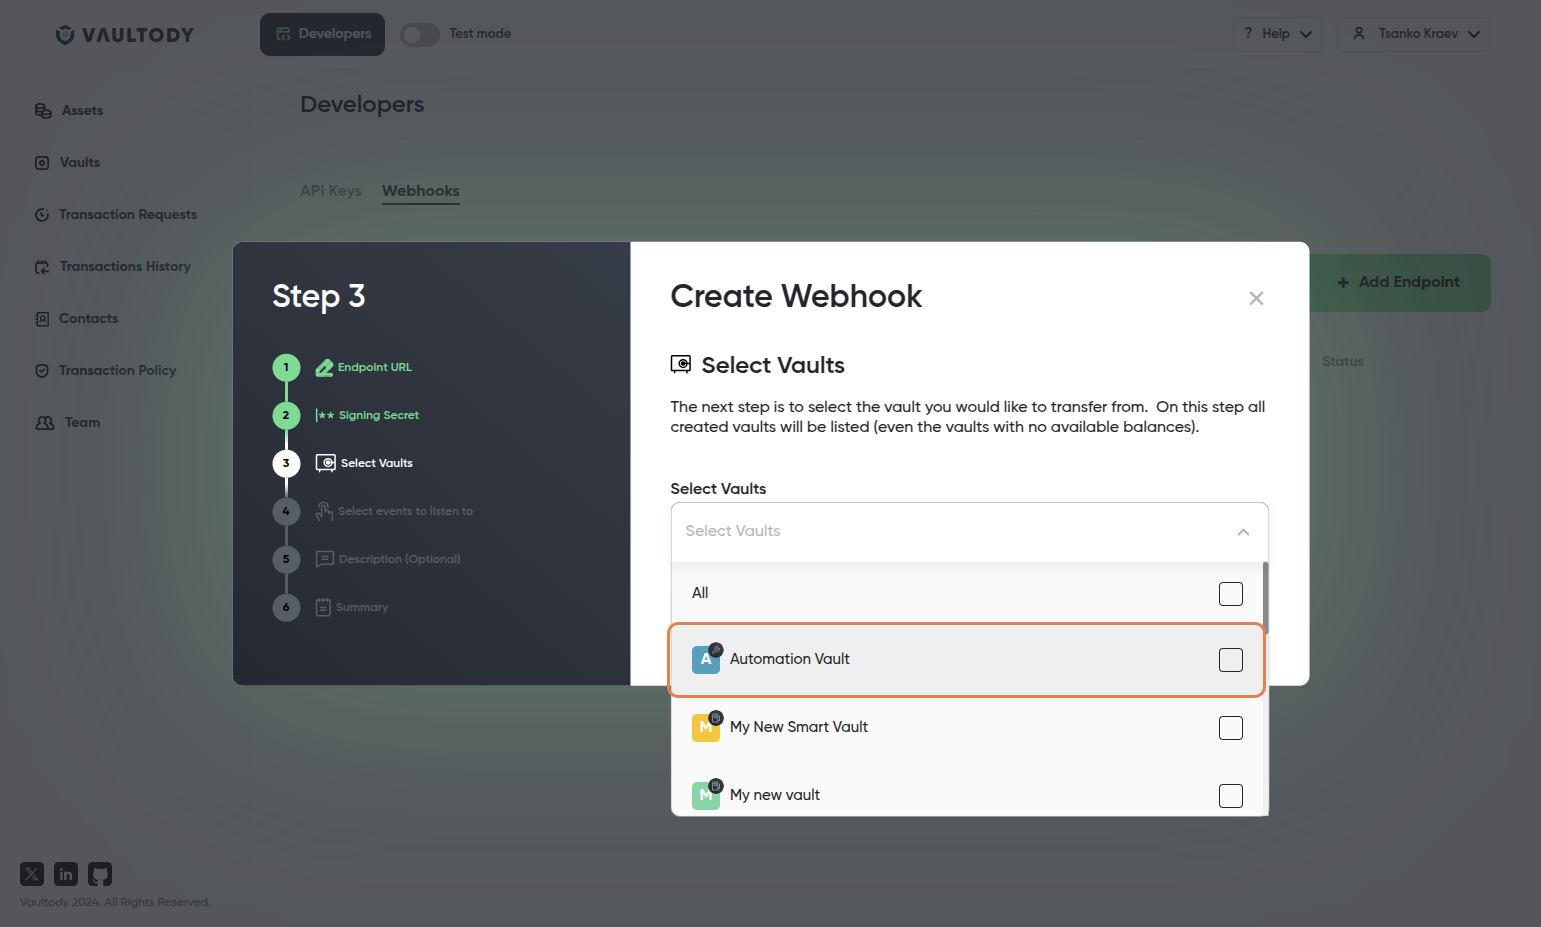
5. Select the Vaults to Monitor
Click on Select Vaults.
Choose the relevant vaults for webhook notifications. If using it for automation, select Automation Vault. You may have different endpoints created for each Vault.
Click All to ensure all Vaults are monitored
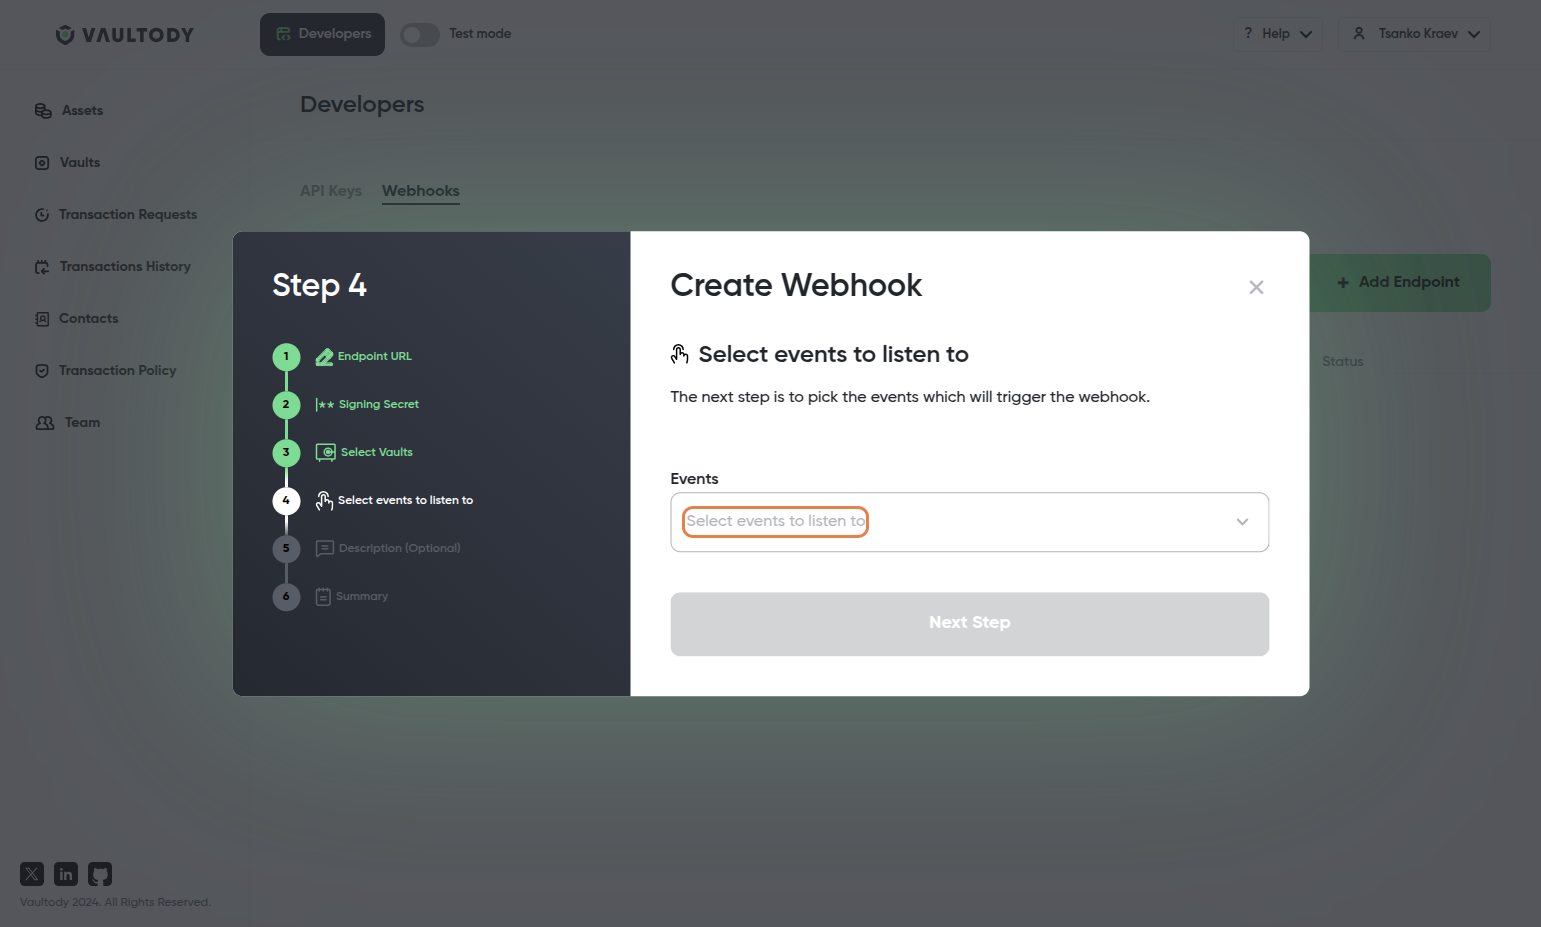
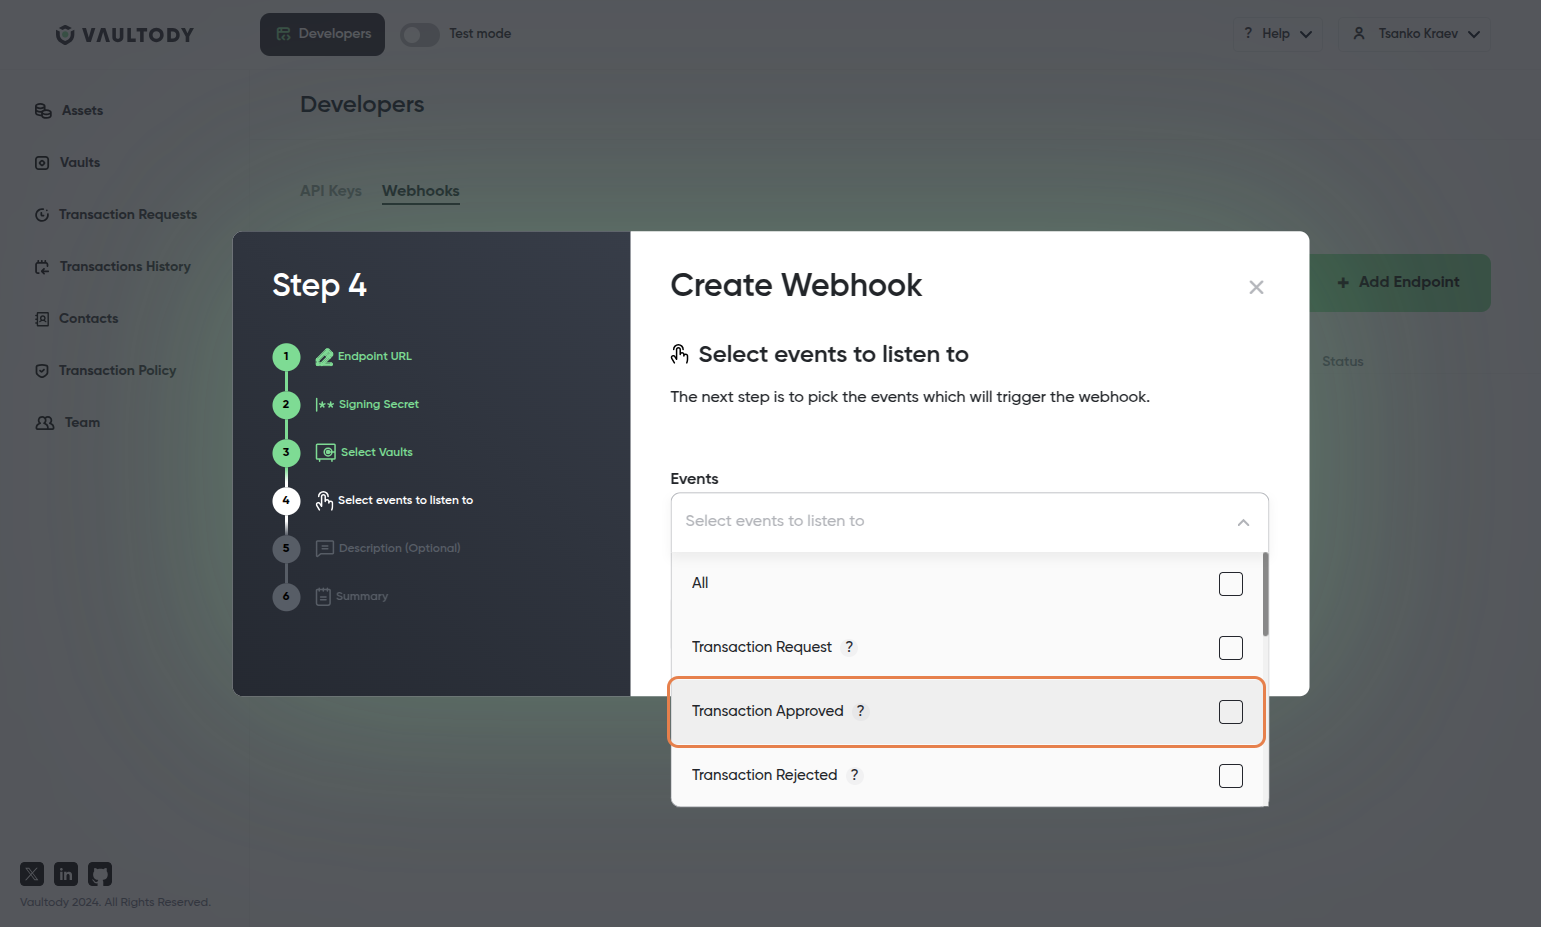
6. Select Events to Be Notified
Choose which specific events should trigger the webhook notification.
Select the appropriate events based on your requirements
Click Next Step.
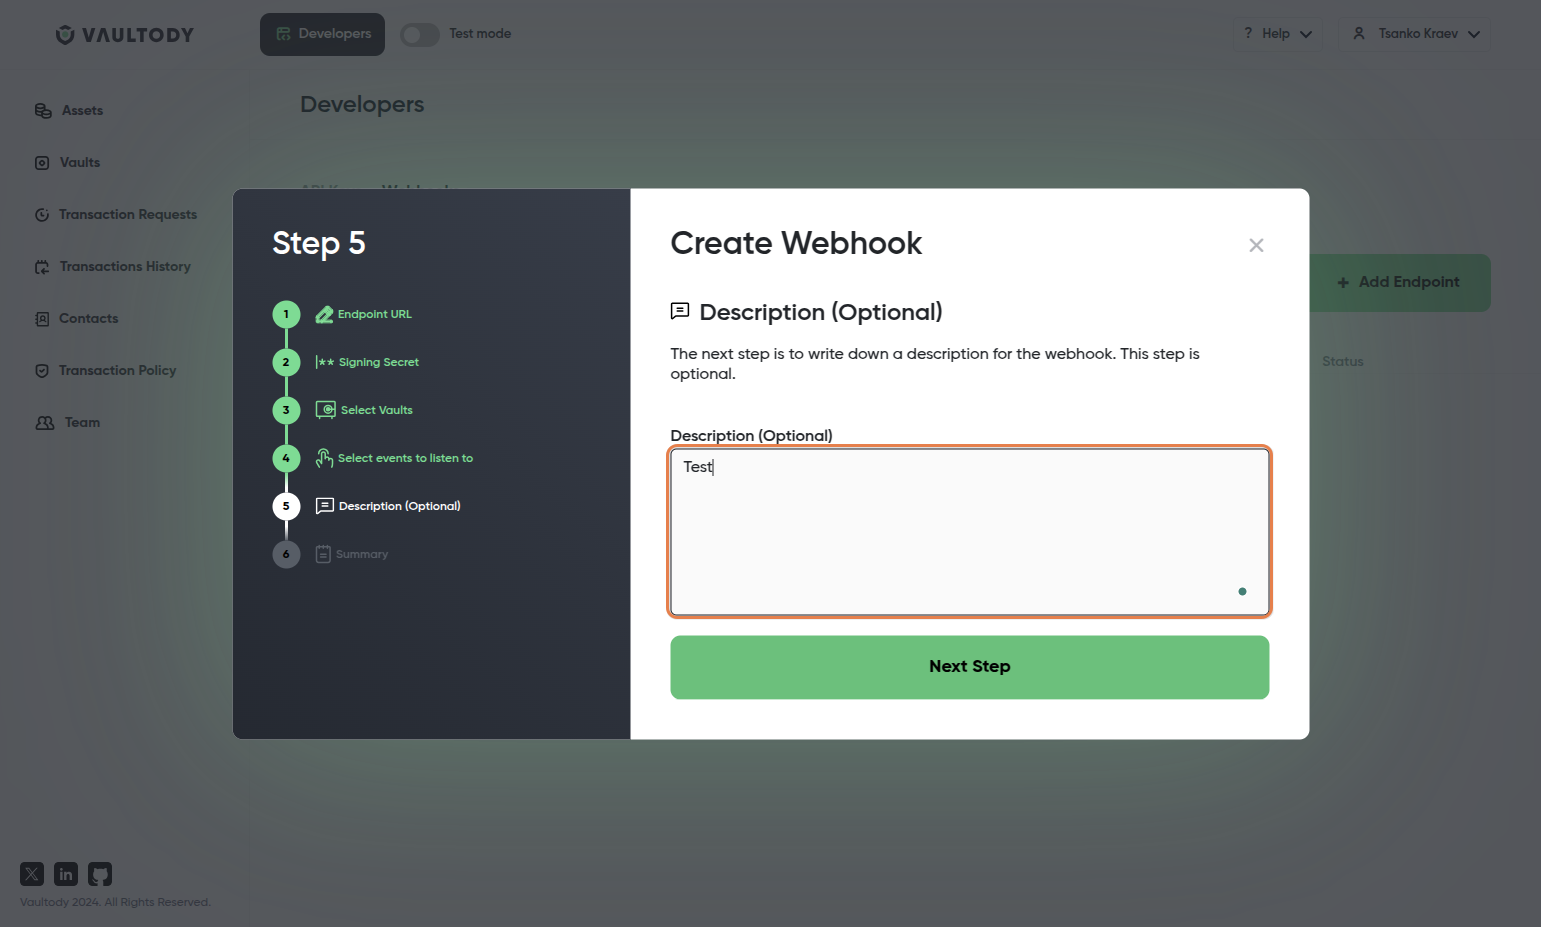
7. Add a Description (Optional)
Enter a brief description of the webhook for reference.
Example: "This webhook is used for Automation Vaults."
Click Next Step.
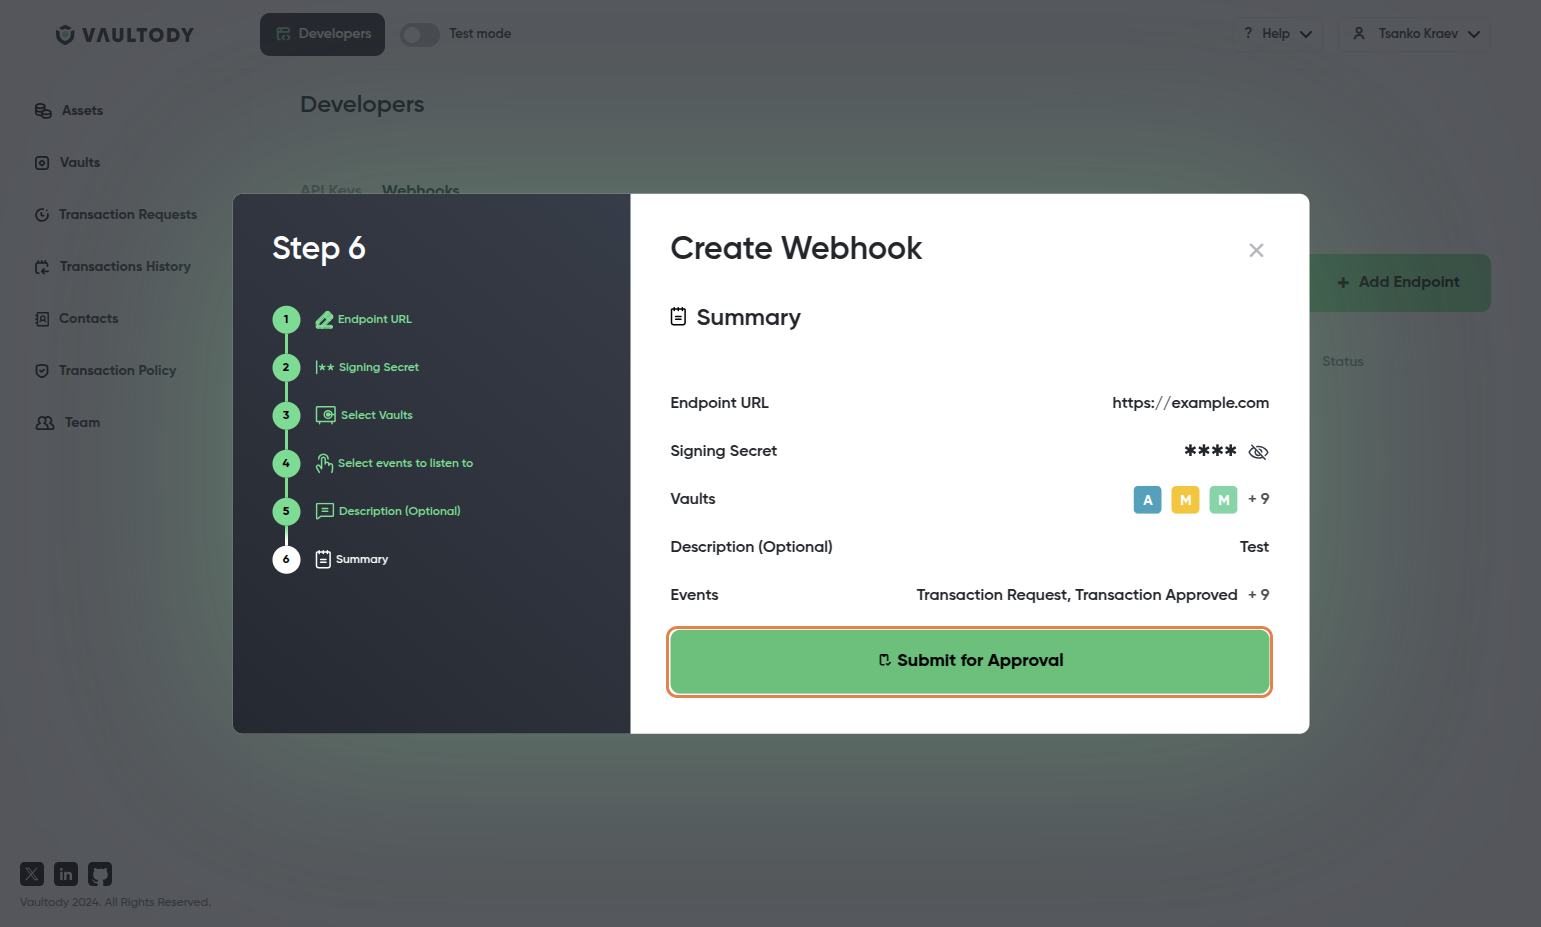
8. Submit for Approval
Review all entered details, including the webhook URL, selected vaults, events, and description.
Click Submit for Approval to send the webhook creation request to the account owner for final confirmation.
The account owner will receive a notification on his Vaultody Approver application to approve or reject the webhook request.